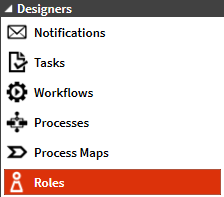
Open the Roles designer from the navigation pane.

Create a new role model by clicking New Model from the ribbon menu Main. In the property pane, give the model a name.


Drag & drop a role element from the element repository onto the canvas to add a new role. You can rename the role (“Undefined”) by double-clicking the role element.

Drag & drop a group element from the element repository onto the canvas. You can change the shape and size of the group by clicking and dragging the dots of the group. Change the size of the group to fit the two previously created roles inside.

You can attach the roles to the underlying group by clicking the +-pin on each role. If the x-pin is displayed at the role, the role has been successfully attached to the group. To attach all roles to an underlying group click the ![]() -icon. To change the group name, double-click the group.
-icon. To change the group name, double-click the group.
When needed there can also be created links to other role models. For that, use the Link element and click the small arrow ![]() on the right top corner of the element to open a Wizard. There simply choose the model you want to link and click Finish.
on the right top corner of the element to open a Wizard. There simply choose the model you want to link and click Finish.

Click Save from the ribbon menu Main.

In the save-dialog select a scope (or create a new one) and click Save.
Add Users to Role
In order to have specific users standing behind a role, you need to add them. To do so, right-click the role and choose Add/Remove Users. You can assign a user and/or a group of users, by searching the user- and/or group name. Double-click the wanted group/user to add it. Click OK to save the changes.


Tip: Always save the model after editing, so that you use the latest version when referencing the role model.
