The External Data Search control provides an option to select multiple items from an external data source via REST API. Its output is a CSV with the values of all selected items.
Basic Concepts
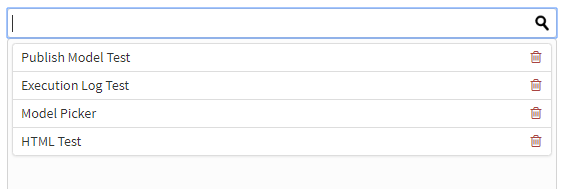
The External Data Search control consists of an autocomplete textbox and a list box area where you can see the already selected items. It works with every REST API that has a JSON response and one of the supported authentication schemes (Anonymous, Basic, NTLM or FireStarts Internal AccessToken).
Generally, to configure the External Data Search, you have to:
- Have the URL of the REST call that provides a JSON response which is or contains an array with the searchable items.
- Know which authentication scheme you need for the REST call.
- Know the structure of the JSON response.
- Know how to use JsonPath to select specific data from the JSON response.
- Bind its output CSV to a business entity, that can be further processed in the workflow.
Configuration in the FireStart Form Builder
Drag & drop the External Data Search control into the form.
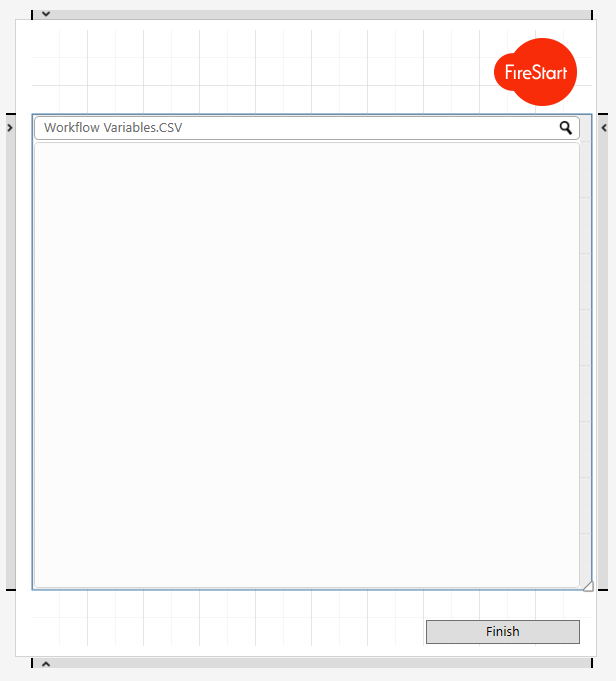
It can be configured in the properties panel on the right side.
Connection Information
Set the URL of the REST request. It has to be a REST call that responds with a JSON which contains an array with the queried results.
Important: The URL must not include the parameter that queries the results.

The authentication scheme required for this call can be configured with the drop-down menu below. For Basic Authentication, you can provide the credentials with the button next to the drop-down.
You can specify the query parameter in the next textbox. The default is query if nothing else is provided.

Here is an example JSON response of FireStarts' internal search API from a route that lets you search models by their name. Request URL for this example is https://<firestartserver>/api/search/models?query=model&type=All. As you can see, there is a property called items, which contains the search results.
|
JSON
|
{
|
You have to specify the path to the results array in the JSON response with a JsonPath expression.

If the JSON response is already an array with the search results, you can leave this textbox empty.
Note: All textboxes starting with JP require a JsonPath expression as input.
There are a few more options under Advanced. There you can configure additional things like how the result is grouped or which delimiter should be used for a CSV.
| Group By | When configuring this option, you can set how the search results are grouped as soon as something is typed in the search box (when completing a task). |
| CSV Delimiter | With this option, you are able to set which symbol should be used as a delimiter. |
| Initial Entries | If this checkbox is ticked it means that if the data is displayed again in another External Data Search element, it is read-only there. |
| API call | There you can set whether you want to use the FireStart server as a proxy. |
| Icon URL | This enables you to replace the search icon (standard symbol) with any icon you want. Keep in mind that SVG as a format cannot be displayed in the Form builder. |
Test Connection Settings
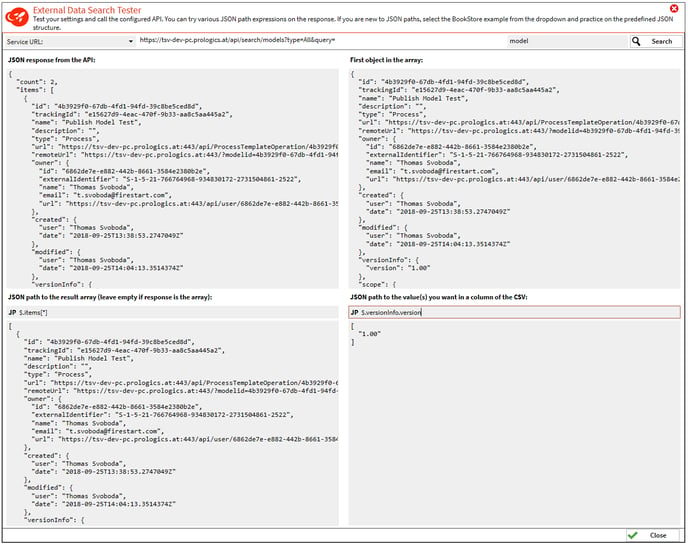
With the Test Settings button, you can open a dialog window that lets you test your provided settings.
The window has a header section where you can see the specified URL and a textbox, to type in your search parameter value. After confirming you should see the response in the four tiles on the window.
- The upper left tile shows the raw response of the REST call.
- The lower left tile shows the result array specified by the JsonPath expression, you provided earlier.
- The upper right tile displays the first item of the result array.
- The lower right tile can be used to try out various JsonPath expressions to get and filter the values of a single item. This tile is empty at the beginning.
Configure the Columns
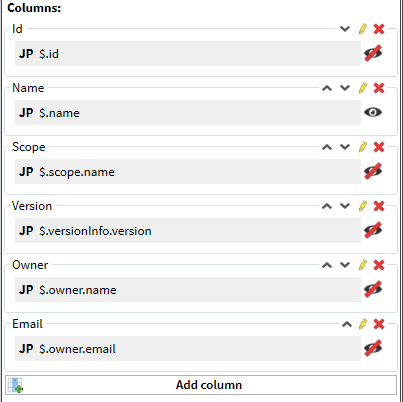
The JsonPath expressions you tried out in the lower right tile of the test dialog are used to specify the path to the column values. With the little yellow pen, you can specify the column header names as they appear as the first row of the CSV.
Setting meaningful names for the columns is helpful for mapping the CSV output of the control with a FireStart business entity via the Read CSV activity.
With the little eye symbols, you can configure whether the column should be visible in the control or not. In this example, only the Name column is visible. All other columns will be part of the output CSV and are displayed in a tooltip when hovering over the selected items in the control.
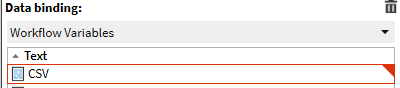
Output Data Binding
What is left to do now is to specify, in which business entity fields the columns of the output CSV should be stored.