In general, the Process Portal and the Client use the same user rights. In the beginning, users have no rights in the FireStart System so they cannot see any models or workflows. This article will teach you how to permit access to specific processes or scopes. Permissions are based on the Active Directory's hierarchical system. With FireStart, you can assign rights to a single user or to an entire Active Directory group.
- Workflows cannot be authorized separately, they always inherit the permissions of the process model.
- Denial is always stronger than a permission. For example user scope A is permitted and at the same time, the sub-scope B (parent scope is A) is denied. This means that the user can view all models of scope A but not those from sub-scope B.
- Tasks do not have to be permitted separately, nevertheless; a user can participate in a workflow without having permissions to this process.
Types of Permissions
There are two different kinds of permissions, namely reading and writing. With reading, the user can view the models but cannot edit them or create a new one. Writing means you are allowed to create and edit models.
Managing Permissions
Only FireStart admins are allowed to enter the configuration menu in order to manage user permissions.
Set user permissions
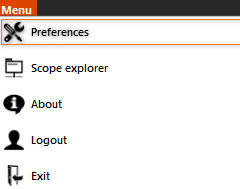
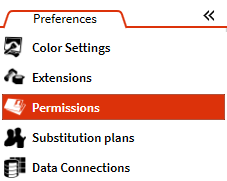
You can find the Permission Settings in Menu - Preferences, and there you choose Permissions.
The following can be displayed here:
- Image
- Name
- Login Name
- Permissions
Now you have to click Add so that the dialog for creating a user permission opens. If a user already has some permissions set, you can open the dialog again by clicking the Pen.![]()

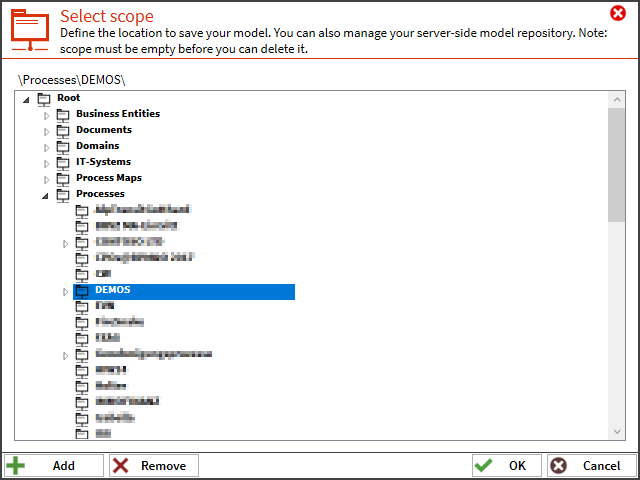
After that, you switch to the Permissions tab and click on Scope Allow Permission to choose which scope you want to grant the user acess to.
With a click on the OK Button, the wizard closes and you have an entry in Permissions. The default permission is Read Published, but with a click on the entry, you can modify the default value. Permission levels and optional permissions can be selected to your liking in the pop-up. The buttons Apply Permissions (Name + Level) and Apply Permissions (Name) can be used to set the current permissions to other areas with the same name and/or level. When you hover the mouse over those buttons, a more detailed description pops up.
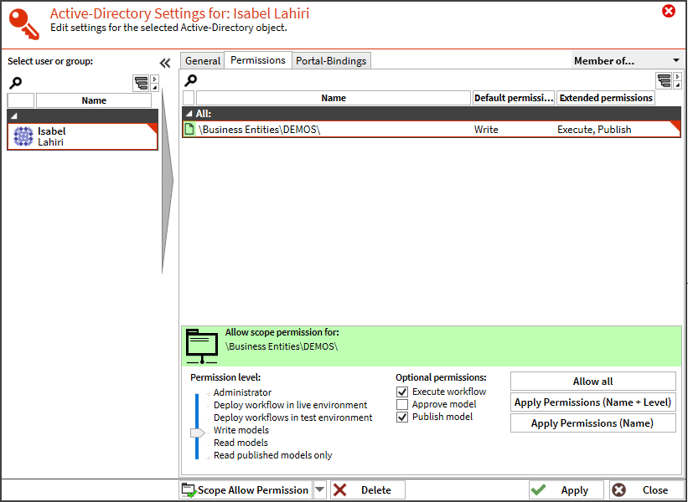
After you finish, click Apply to save changes and then Close the dialog.
The permission entry has been made. But with a double-click, the granted permissions can be changed at any time. The moment the permission is displayed, the user gains the right for writing.